Faux Calligraphy That Will Leave Your Guests in Awe of Your Skills
/
Catalyst Wedding Co. may receive compensation or products from companies mentioned in this article. This helps support our site.
As a wedding calligrapher and a former DIY bride, I know it firsthand, and I probably don’t have to tell you, that weddings can add up quickly. And faster than you can say iPod DJ, aspects of the event that may have felt like necessities at the start will begin to look like real luxuries. So if hiring a calligrapher for lettering place cards, addressing envelopes, decorating paper goods, etc. is not in the budget, let me impart a little knowledge for free. I’ll show you how to fake some really lovely calligraphy and turn something most couples dread — addressing all those invitations for instance — into a simple task you can take pride in. So pop open one of those bottles of sparkling wine you’ve got for “research purposes,” grab a pen you enjoy using (I prefer a felt tip) and a bit of paper, and let’s unwind to the loops and curves of faux calligraphy.
To better understand what we’re doing, here’s a quick lesson in the art of true calligraphy:
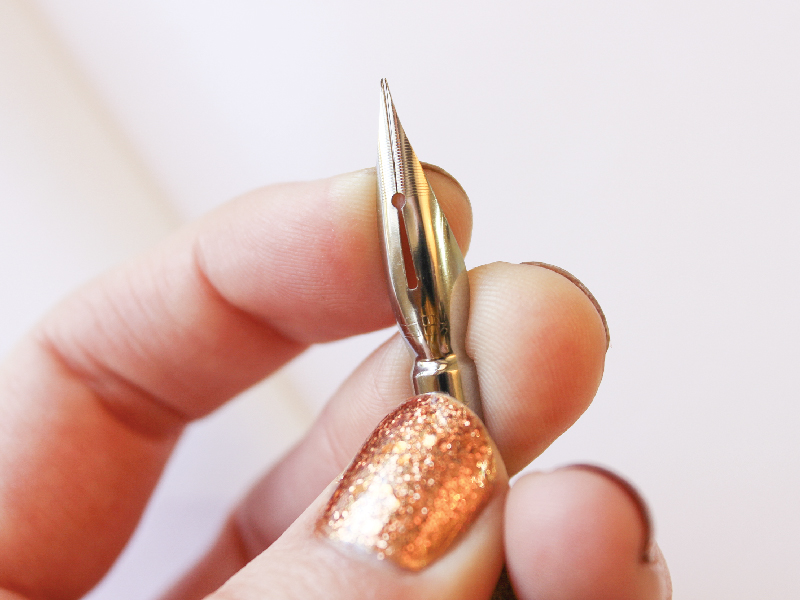
Calligraphy with a dip pen (the oh-so-romantic metal pointy pens that dip into ink bottles) is inherently beautiful because it creates letters that consist of “thicks” and “thins.” Thicks are achieved when you’re moving the pen toward yourself or down the page, and thins, or hairlines, are created when you’re moving the nib along the paper away from yourself or up the page. This is due to pressure. Gentle pressure is placed on the pen as it moves toward you, and that spreads the pen’s tines and deposits ink in a widened line. But you cannot place the same amount of pressure on a nib as you move it away from yourself or you’ll snag the paper and make a splattery mess. So on upstrokes you move lightly and get delicate hairlines.

So now we’re going to turn basic handwriting into what looks very much like lettering created with a calligraphy pen.
1. Choose a word — your name is always a good place to start — and write it out in your best script. Space it a tinge wider than you normally might write. It doesn’t have to be great; this is just the first step.

2. Now identify the upstrokes and downstrokes in your letters to determine where your thicks and thins should be. Each time you brought your pen toward yourself as you wrote, your letters would have been thicker if you’d used a dip pen.
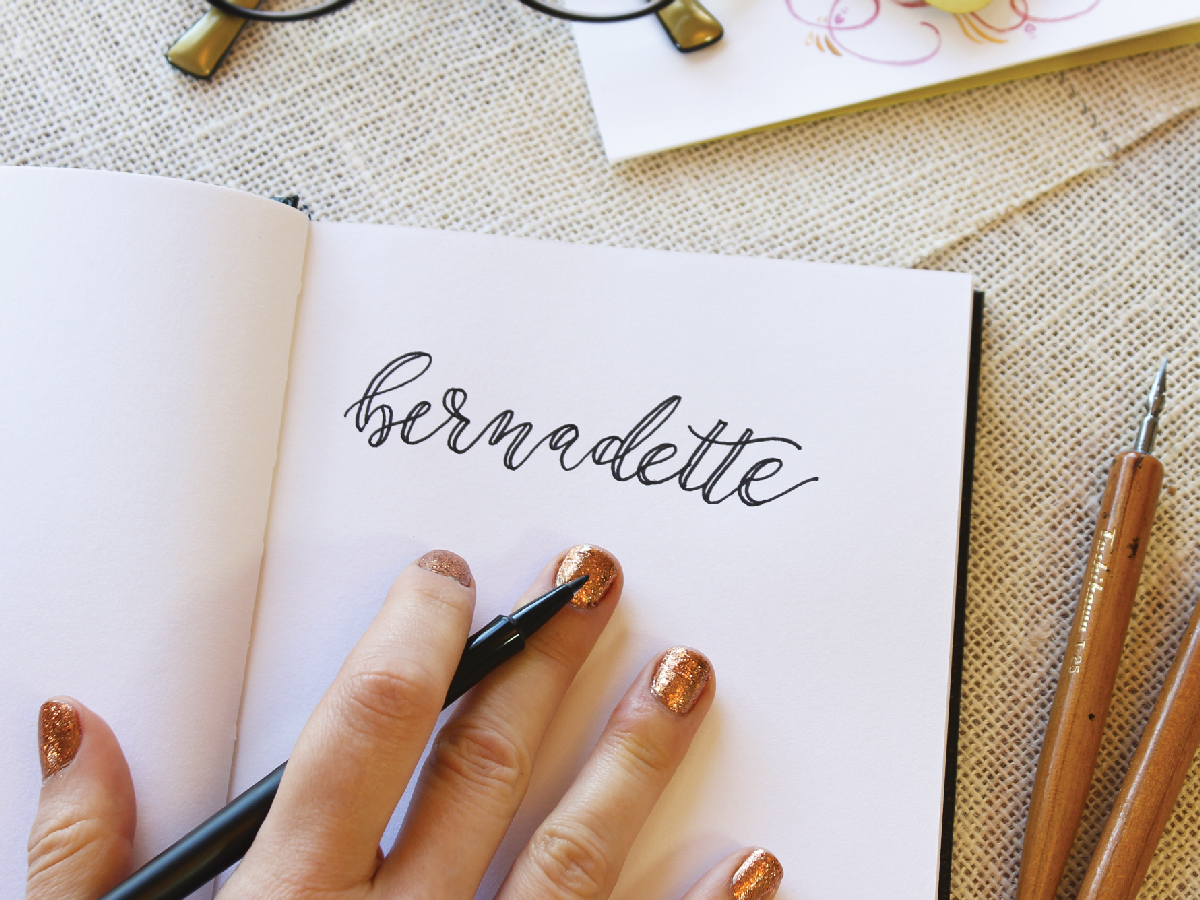
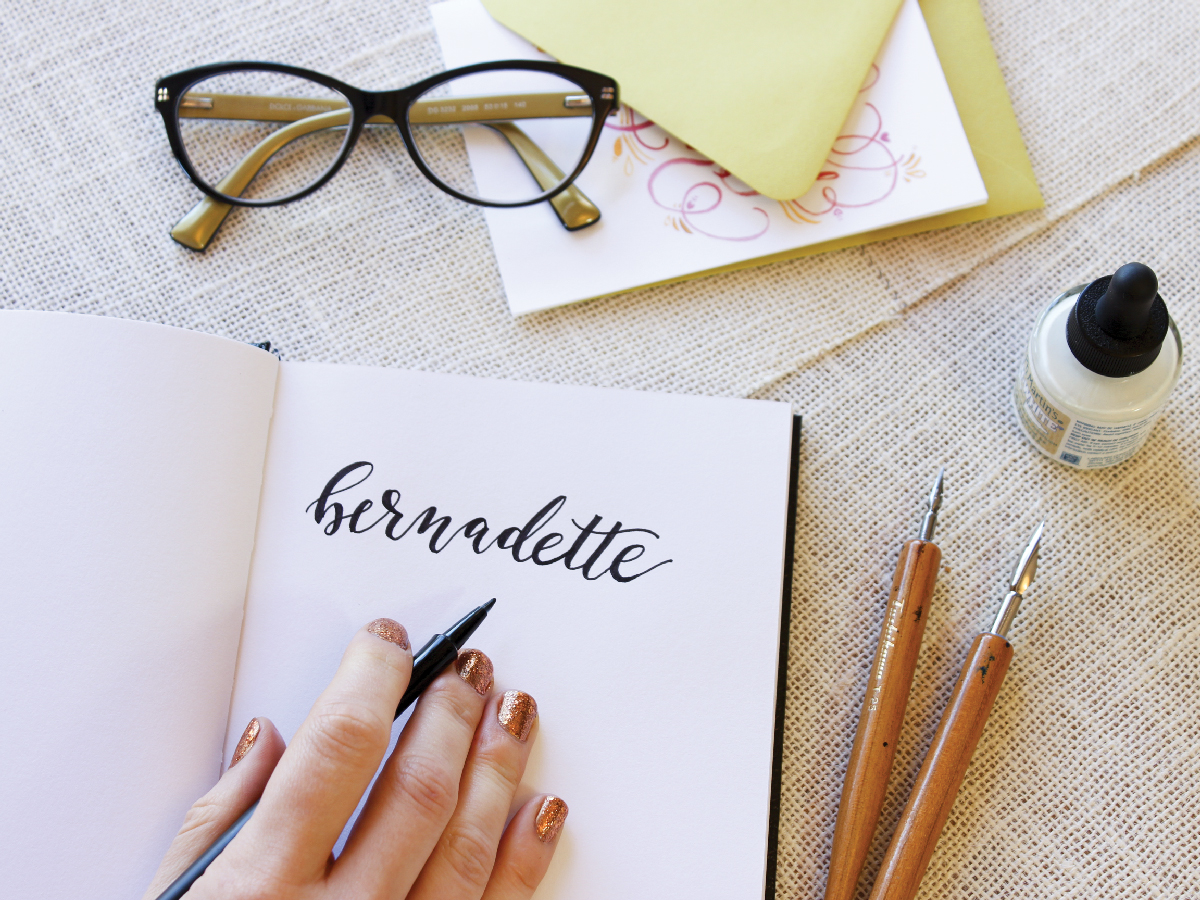
3. Go back and fatten those lines with a few extra strokes and leave everything else completely alone.

That’s it. I told you this would be easy. But what an impact! You’re ready to address your envelopes, write up place cards, create menus, make thank you cards, and more. You can even use this technique with paint and a round brush, a chalk marker on chalkboards...the world is your oyster. And won’t your friends be impressed when your invitations show up handaddressed by a calligrapher? Fancy that.
This article originally appeared in Volume Three of Catalyst Wedding Magazine. Order your copy for more great articles.

BERNADETTE FISCHER
Bernadette is a calligrapher and artist based in Houston, Texas with her husband, little girl, and small assortment of fur babies. heybernadette.com